Air-Sealing 101: From Attic to Basement How to Button Up Your Home’s Envelope
By Jeff Eckes | Winter 2025 | High-Performance House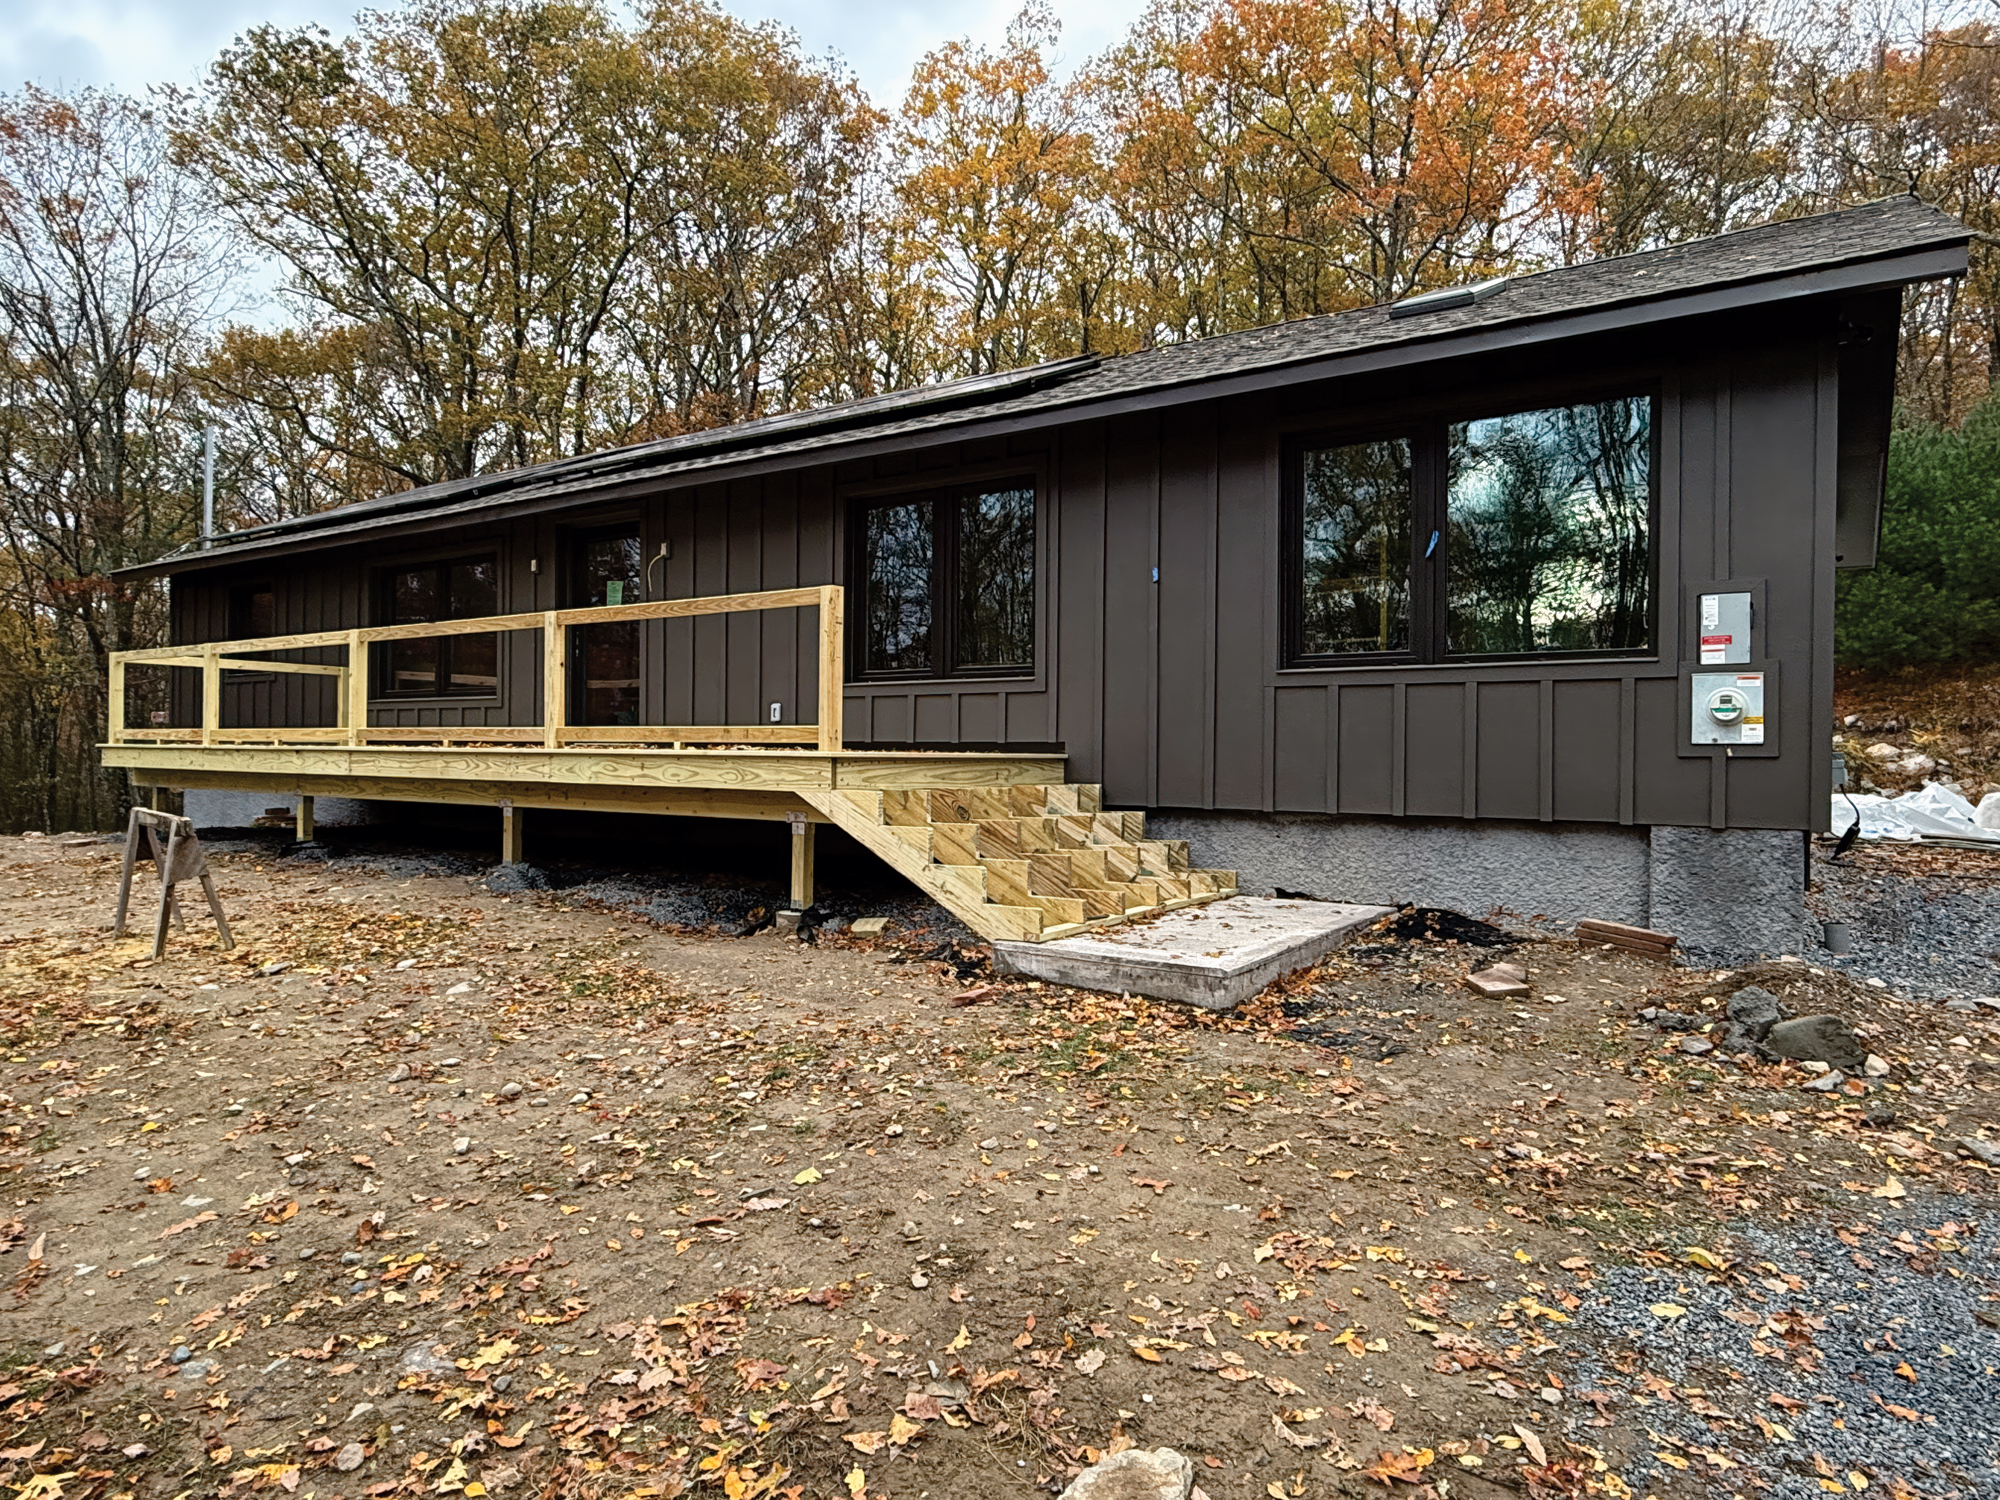
What is the envelope of your home? It’s simple really, it’s the assembly that keeps weather outside, and heat and cooling in. This includes your walls, roof, and basement (or slab) floor. Effectively sealing these assemblies and insulating them well is what makes a superior envelope. It almost does not matter if you build with wood framing and vinyl siding, or stone walls, the concept is the same as much as the details are different. As we will likely need to do these things piecemeal, let’s break these down one by one.
The roof of a single-family home has two basic designs: vented or unvented. A vented roof looks like what most homes in the region look like, an uninsulated attic with the insulation on the floor, which is the ceiling of the floor below. The majority of old homes have some very real problems here, with the most room for real measurable improvements, and so it’s a great place to start.
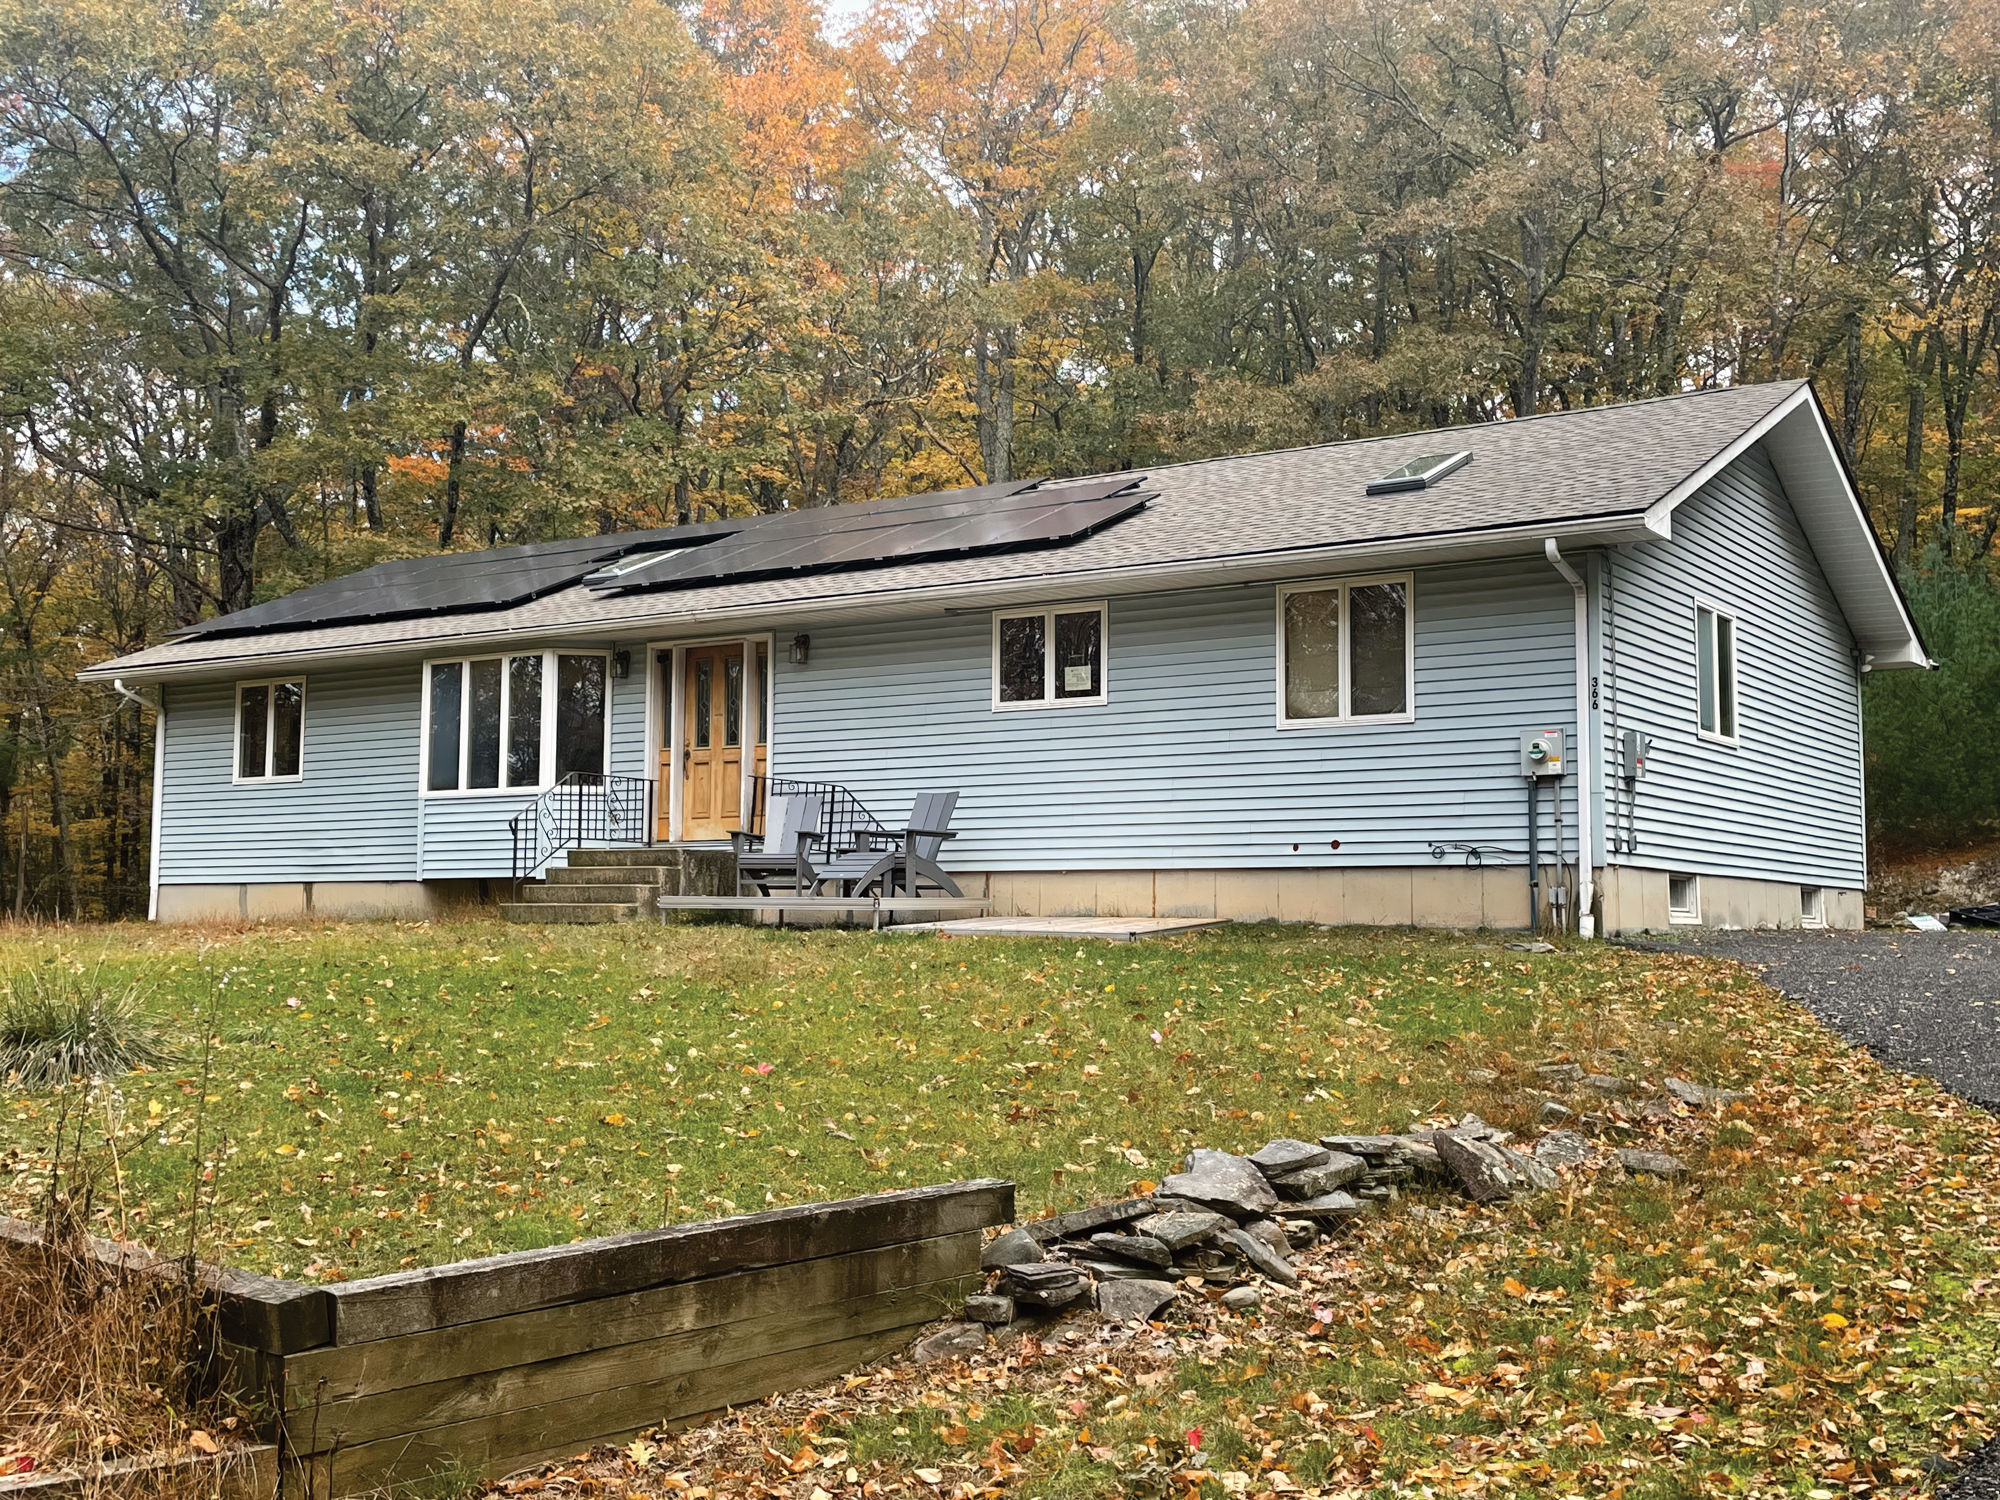
The original home
Almost all older homes, and most newer ones, lack any real air sealing in this assembly, and all but the very minimum of insulation. In the past, we thought drywall was enough to seal an interior space. It’s not, despite what claims you might hear, even from building scientists. Today we understand how water vapor affects wall assemblies and how smart membranes make heating- and cooling-related issues less of an exercise in faith and more of a scientific certainty. If your attic has less than 18 inches of insulation, it needs to be removed, the surfaces cleaned (don’t leave the rodent droppings, no matter how icky they are) and then sealed.
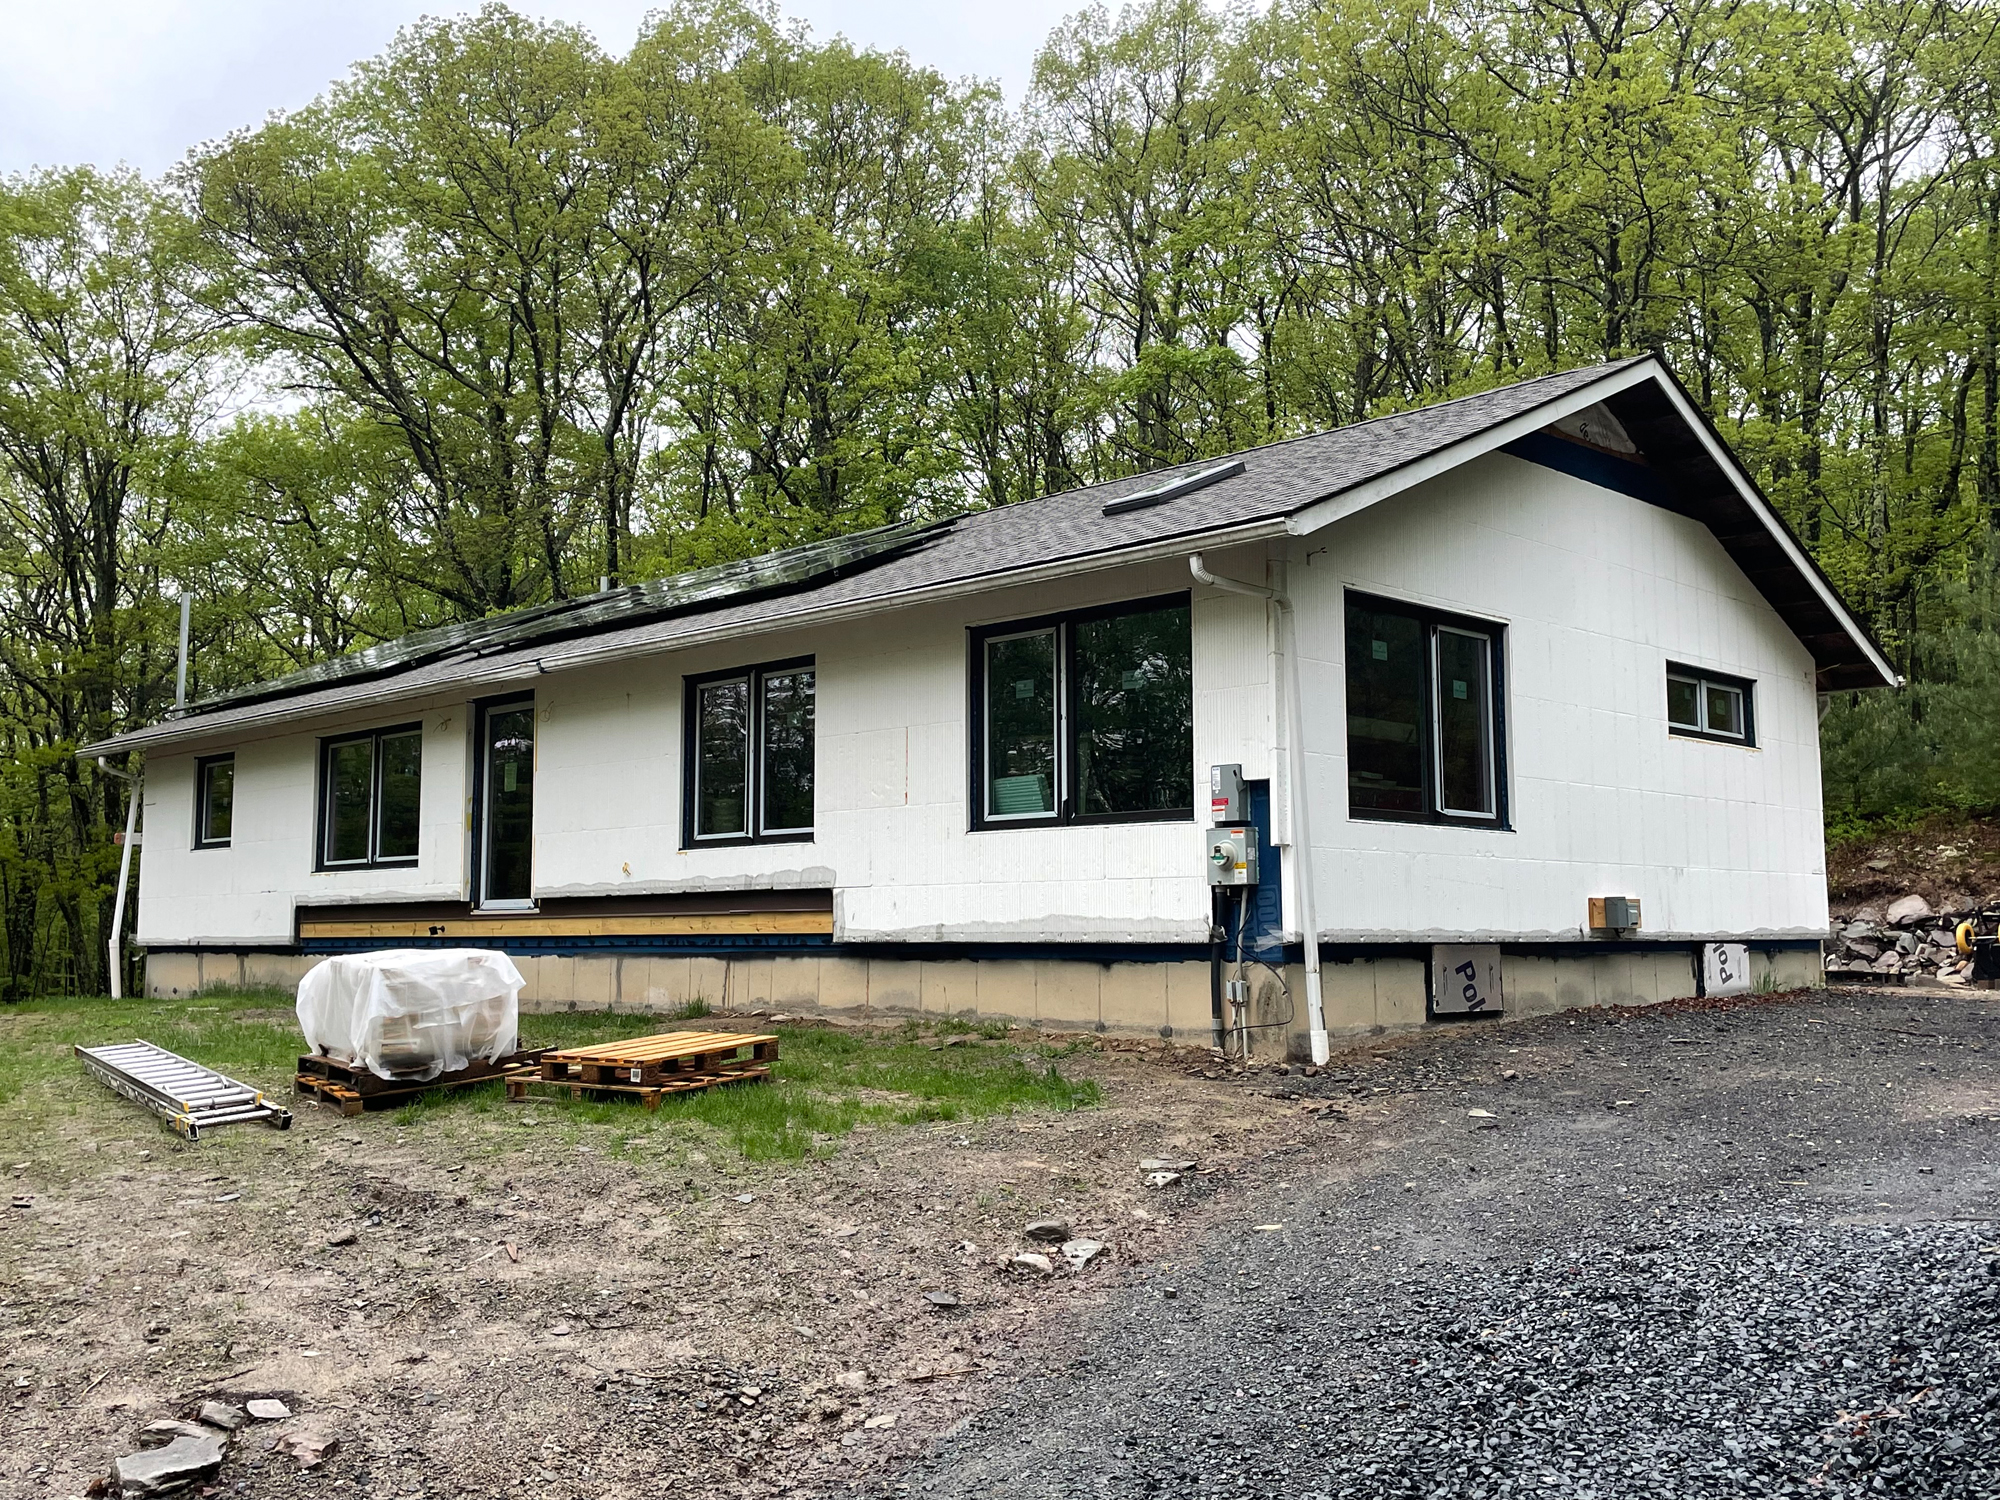
Many products are available to seal an attic space, from liquid-applied coatings that can be sprayed, to fabric-like sheets than can be stapled on under the drywall if you are replacing the ceiling. The membrane we used in the attic of a deep energy retrofit we are completing in a Sullivan County home (pictured above) is Intello, which is manufactured by Pro Clima and designed to change characteristics based on changing vapor pressures that occur from winter to summer. A vapor “problem” is condensation, which you might have seen as frost on the insides of old windows in the winter. The same science, acted out inside a wall, can cause water damage, sometimes quite a bit of it. The best membranes are imported from Europe (we just don’t make these things here) and can be found at 475.supply, a supplier to the Passive House industry.
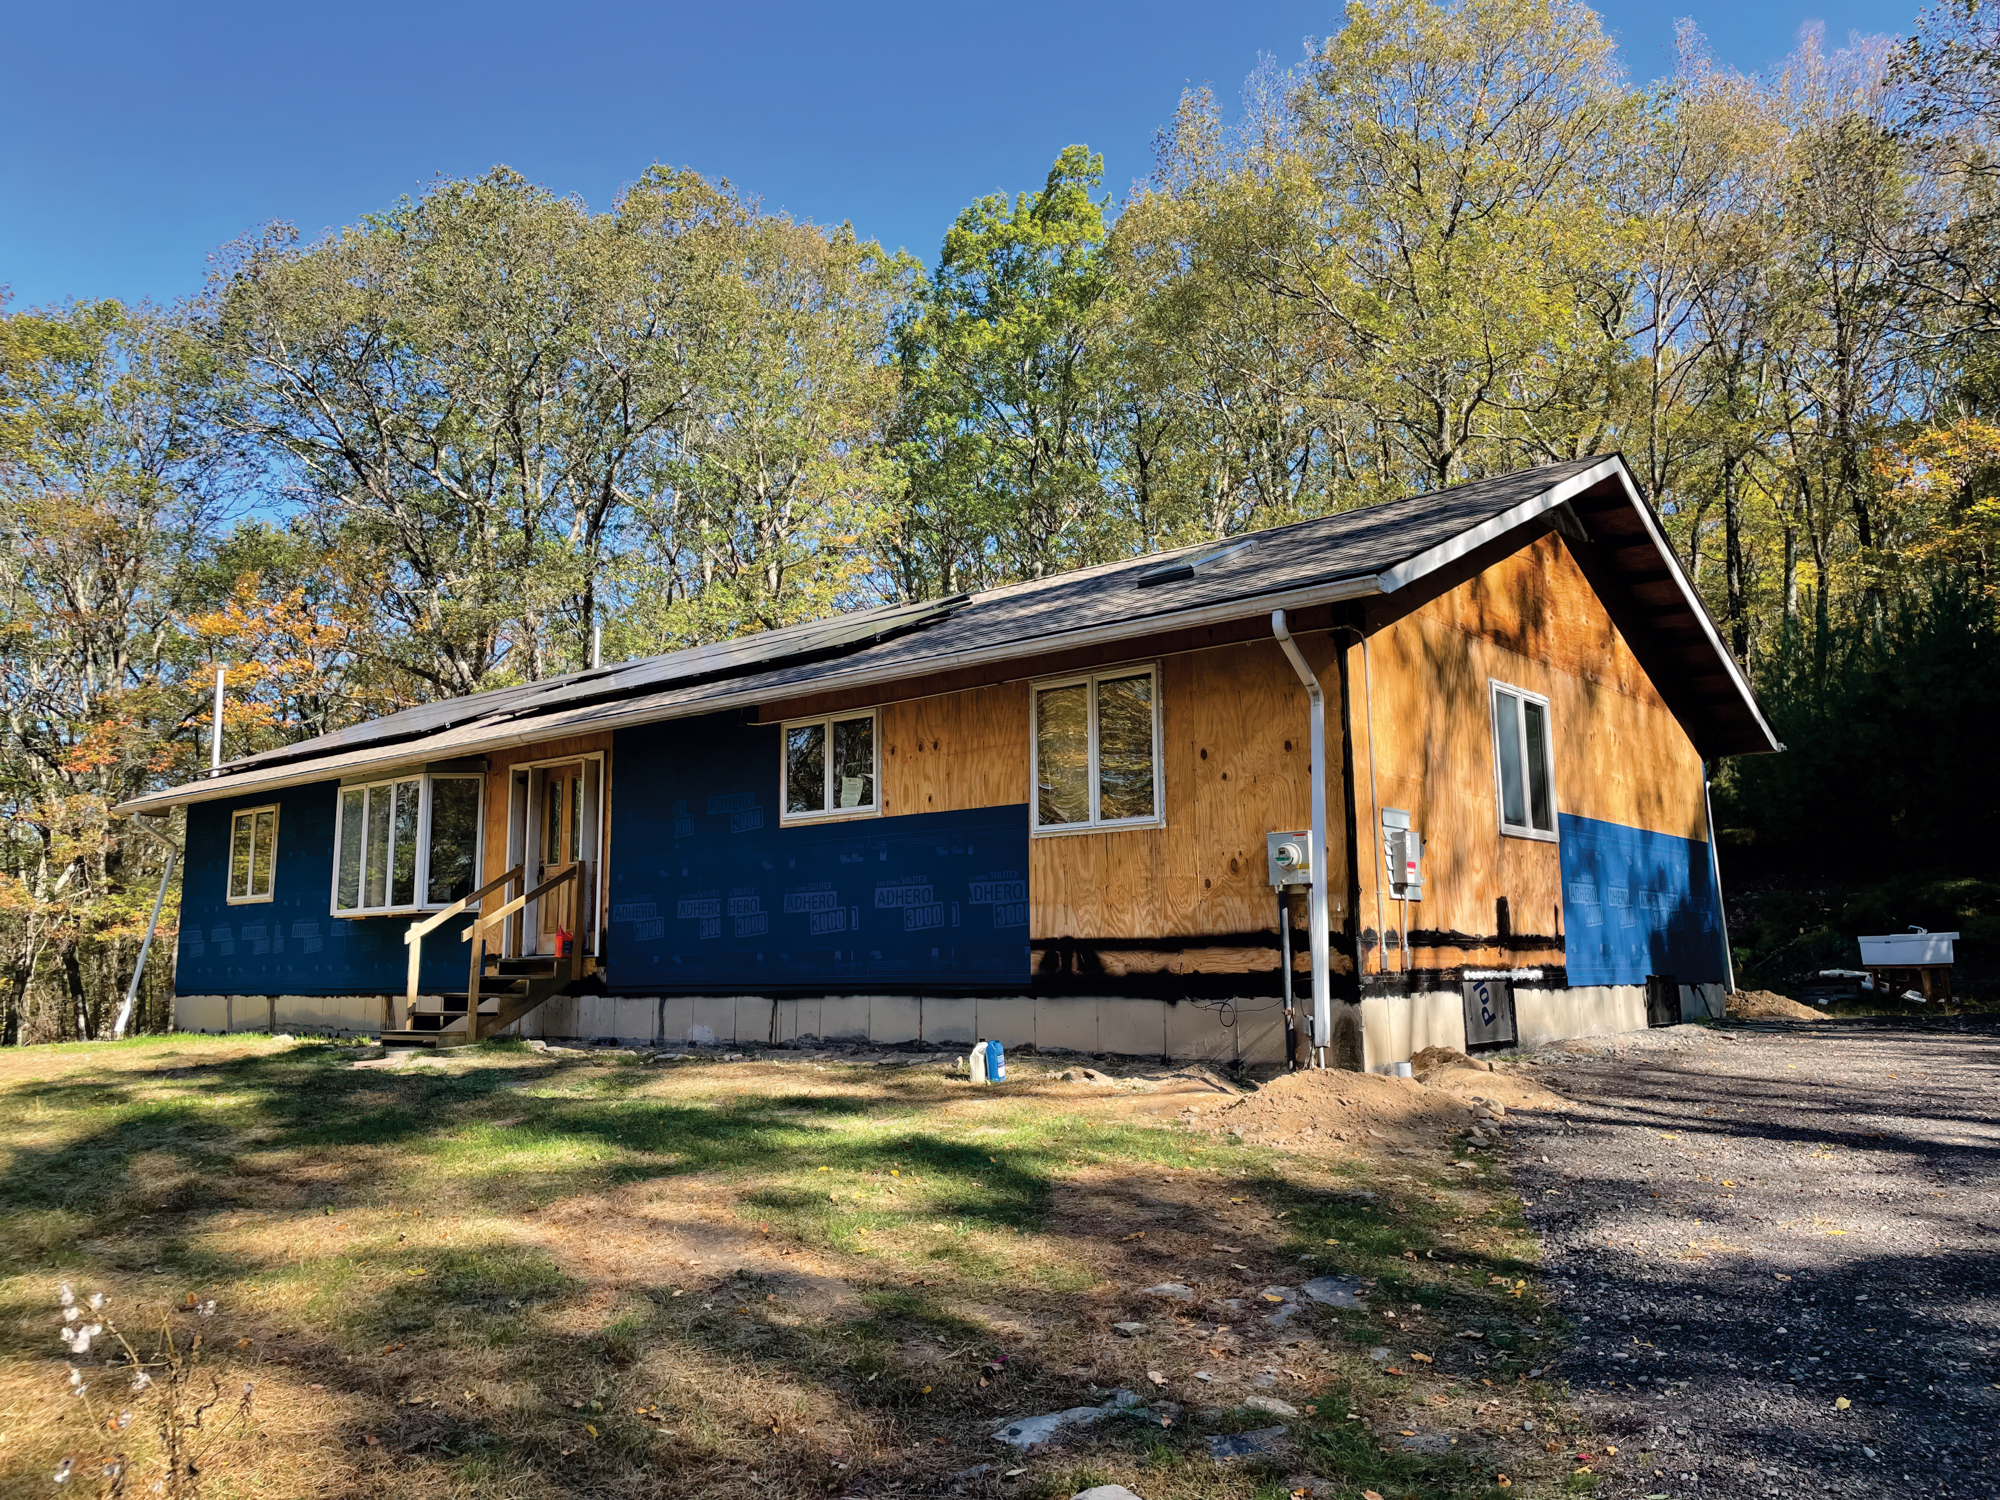
In the Sullivan County house, we used a product called Adhero 3000, also made by Pro Clima, on the exterior walls once they were stripped of siding. It’s a self-adhesive membrane that we applied to the sheathing, from the top two inches of the foundation to the top of the exterior wall. We then insulated the interior of the wall cavities and applied more Intello under the finish drywall, forming a five-sided box. The sixth side of the box is the basement floor, or the first floor, if you have an unfinished basement and you don’t plan on using your basement as living space in the immediate future. If not, treating the basement ceiling (the floor for the first floor) with a smart vapor barrier and insulation is the right move.
If you are going to use that basement space as living space, then a high-quality sealer that seals out moisture and soil gasses like radon, and is designed for below-grade interior applications is the way to go. Emecole.com sells a concrete sealing product, EmeSealCrete, that is mixed 50/50 with hot water and sprayed onto masonry basement walls with a garden sprayer. It has worked well for us. In fact, this product is so affordable, easy and foolproof that I would recommend it as a first step. This product completely eliminates the need for an additional vapor barrier like six-millimeter plastic, which is actually ineffective despite its popularity.
Once your basement is sealed, you will need to insulate it. For decades, the typical solution was to frame the wall (after installing that ineffective six-millimeter plastic), insulate it, typically with fiberglass, and then install sheetrock. There are several very pressing problems with this. First, plastic does not prevent the moisture or gasses like radon from entering the space. It will act as a temporary barrier for much of the moisture, and by “temporary,” I mean that it will build up seasonally behind the wall, and eventually leak out below the wall. The radon and other gasses simply have free rein.
Another truly innovative product we have been using is an EPS insulation product from InSoFast.com. EPS is the “friendliest foam board” as it uses a less-toxic process to manufacture, is highly insulating, and has semi-permeable vapor characteristics. This allows the wall to dry to the inside of the space, a very important quality in basements that are even a little damp. Make sure to use regular drywall—not wet location drywall—and paint it with a flat paint to maintain that ability. InSoFast takes that superior material, molds into it a synthetic framing member, and incorporates vertical grooves on both sides as a drainage plane. The 3.75-inch-thick panel (same depth as a two-by-four) glues onto the basement wall with construction adhesive, which allows you to fasten it to the walls and then hang drywall directly onto the installed foam panels. As an additional bonus, this product also allows you to run Romex or BX wiring in channels on the interior, then install a box directly into it, making this product a real time and money saver for us. A two-inch-thick product is available for under basement subfloors, and installs the same way, making this product very friendly to DIY!
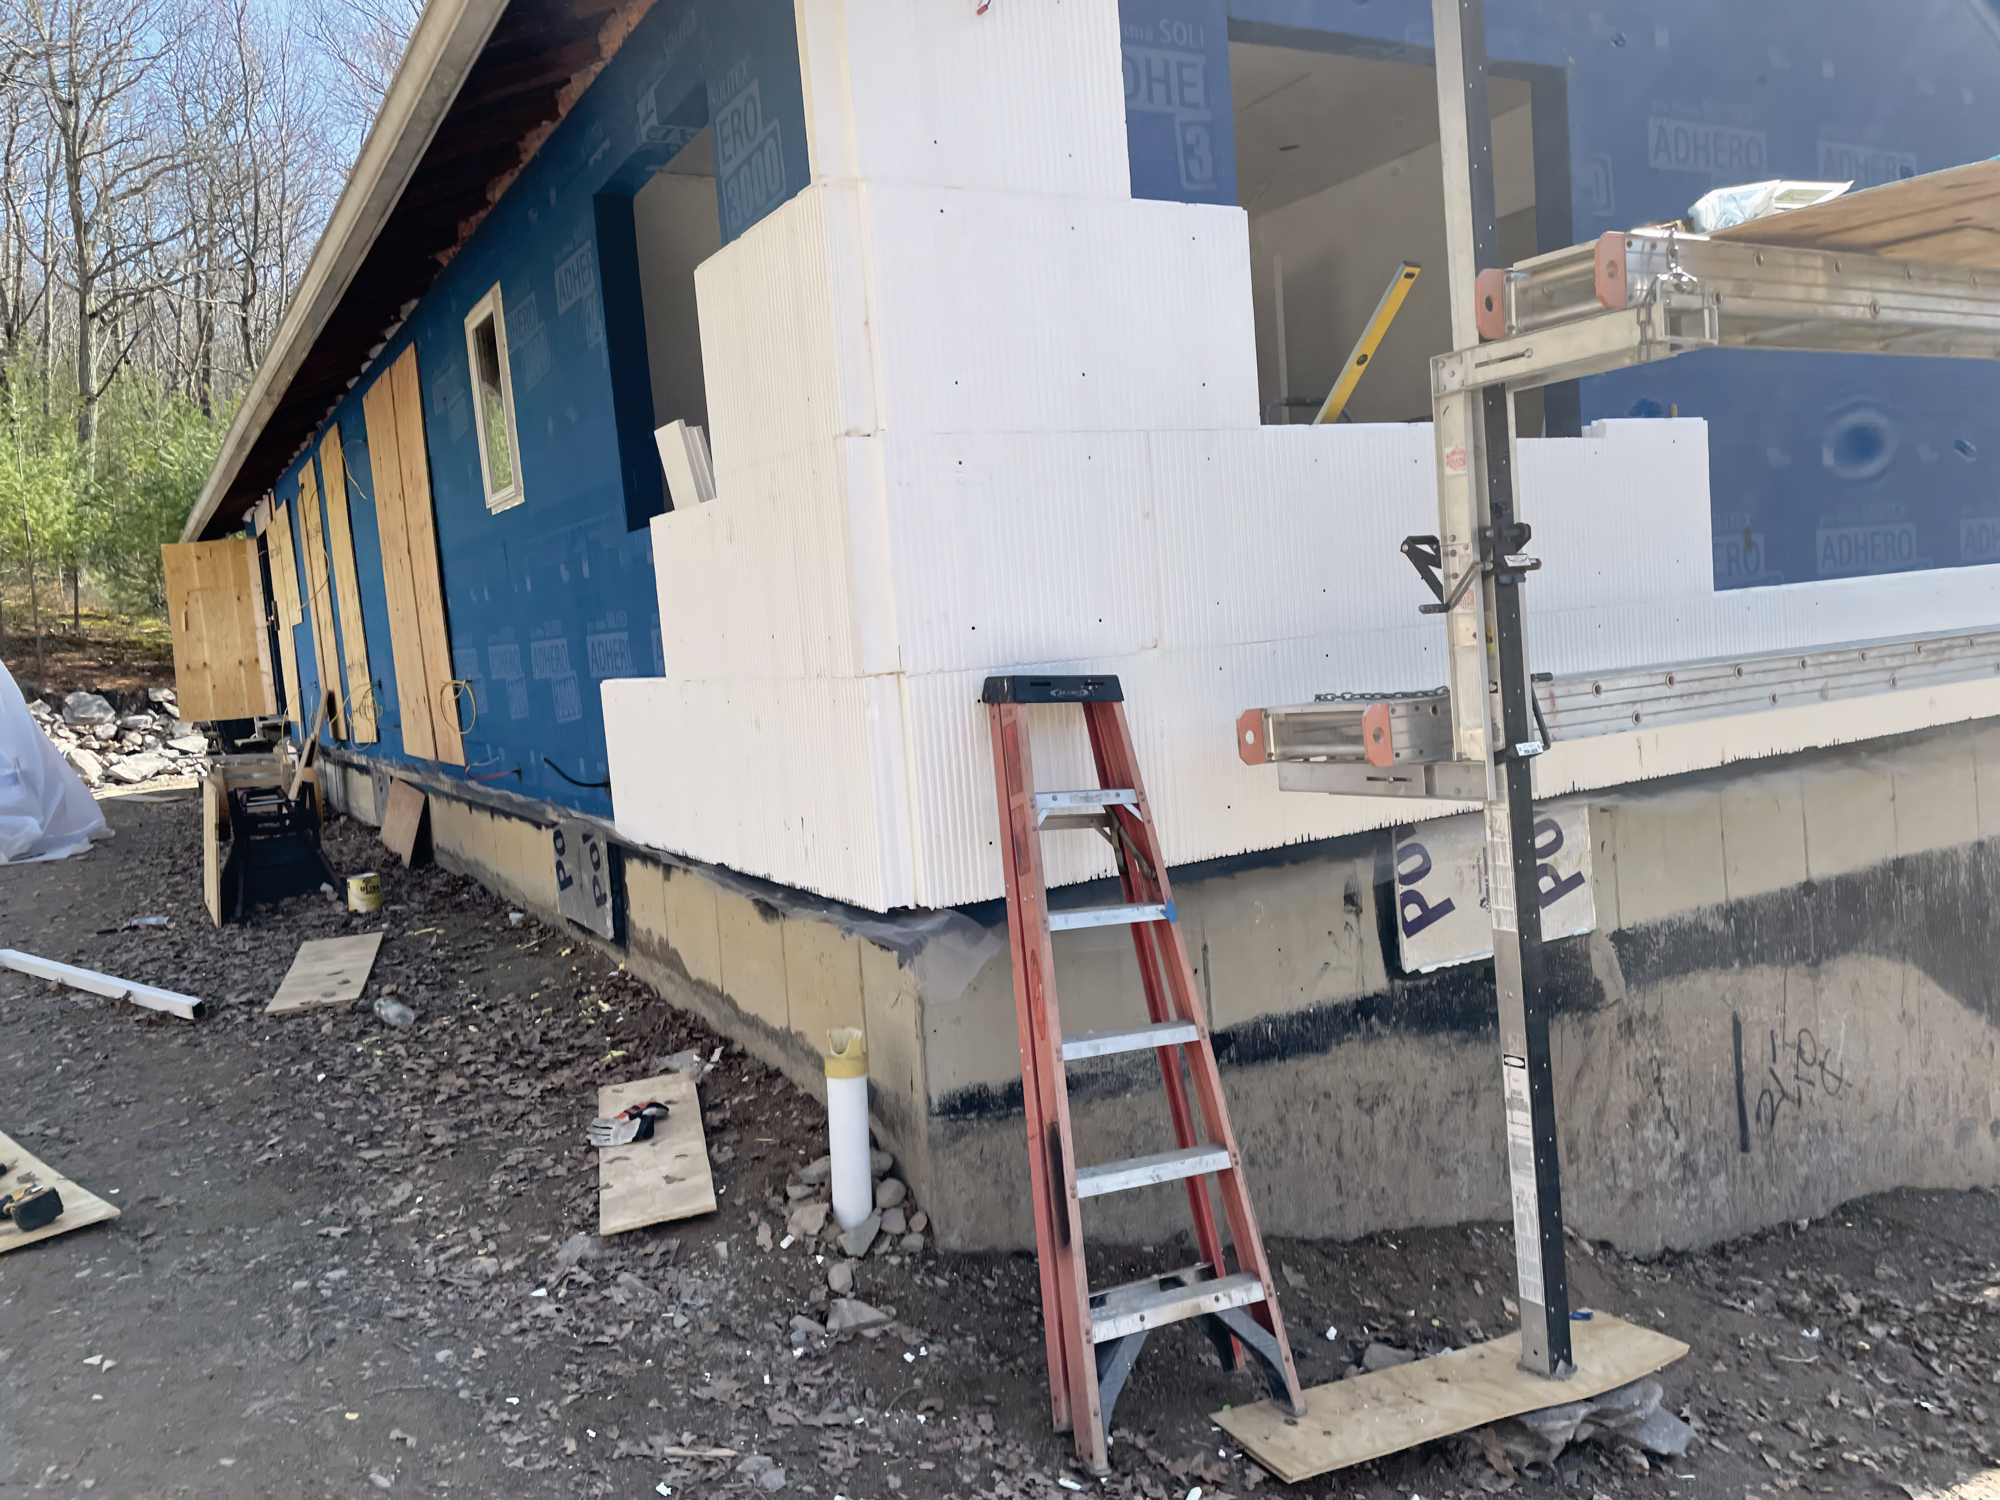
The exterior of the house will need insulation as well, and it’s a code requirement in an increasing number of districts. We use the very same product on the sides of exterior over the Adhero membrane. In this application, we screw it and glue it, then mount whatever siding we decide to use right onto the InSoFast. We use a lot of concrete Hardie board siding products, and it holds up to the additional weight and installation requirements very well. InSoFast panels exceed most code-mandated insulating requirements all over the country, so the building inspectors love this product as well.
New windows and doors installed
For the roof, we install up to four inches of EPS sheet, and then another layer of sheathing, with Adhero over that. Asphalt or metal roofing is easily applied over that. The nails used to attach the roofing are sealed as they penetrate the roof by the properties in the Adhero, and the fabric upper layer is virtually slip proof, so it is a perfect underlayment for roofing as well.
Adding a high-quality set of windows and doors is essential, and completes the envelope. This is a place that you might want to have a reliable professional do some work for you. Sash and Frame, is a company that was founded by a group of window design and installation experts, and is a trusted partner of ours. They carry several lines of triple-pane, Passive House-appropriate windows in several price points, and they install and warranty their work as well as the window itself. They are DIY friendly, very informative, and have a showroom in Green Island, outside of Albany, where you can go see the product and learn about it.
In addition to all of this, we are working on putting together a group of architects and designers that are willing to provide their services on a kind of sliding scale, so that regular folks can afford to properly plan their projects and permit them effectively when called for. Look for information in this space, in upcoming issues, and as always, please reach out if we can help you find the resources that you need, and the best of all possible fortune with your projects.
Jeff Eckes if the CEO of LDR Group, a Passive House design/build/renovate contractor located in the Mid-Hudson Valley.